DIY Bottom Painting: How to Achieve Professional Results


Understanding the Basics of Bottom Painting
Bottom painting is an essential maintenance task for boat owners, aimed at protecting the hull from marine growth and deterioration. While hiring a professional is always an option, many DIY enthusiasts choose to tackle this project themselves to save costs and gain satisfaction from a job well done. Achieving professional results, however, requires attention to detail and adherence to several key steps.
Choosing the Right Paint
The first step in achieving a professional finish is selecting the appropriate paint. There are various types of bottom paints available, including ablative, hard, and environmentally-friendly options. Ablative paints wear off over time, revealing fresh layers, while hard paints are more durable but may require more frequent cleaning. Consider the water conditions and usage of your boat when making your choice.
Considerations for Paint Selection
When selecting your paint, take into account the type of water your boat typically navigates—fresh or saltwater—as well as how often it is used and docked. Additionally, check for any local regulations that might affect your paint choice. Consulting with experts at your local marine supply store can also provide valuable insights.
Preparing the Hull
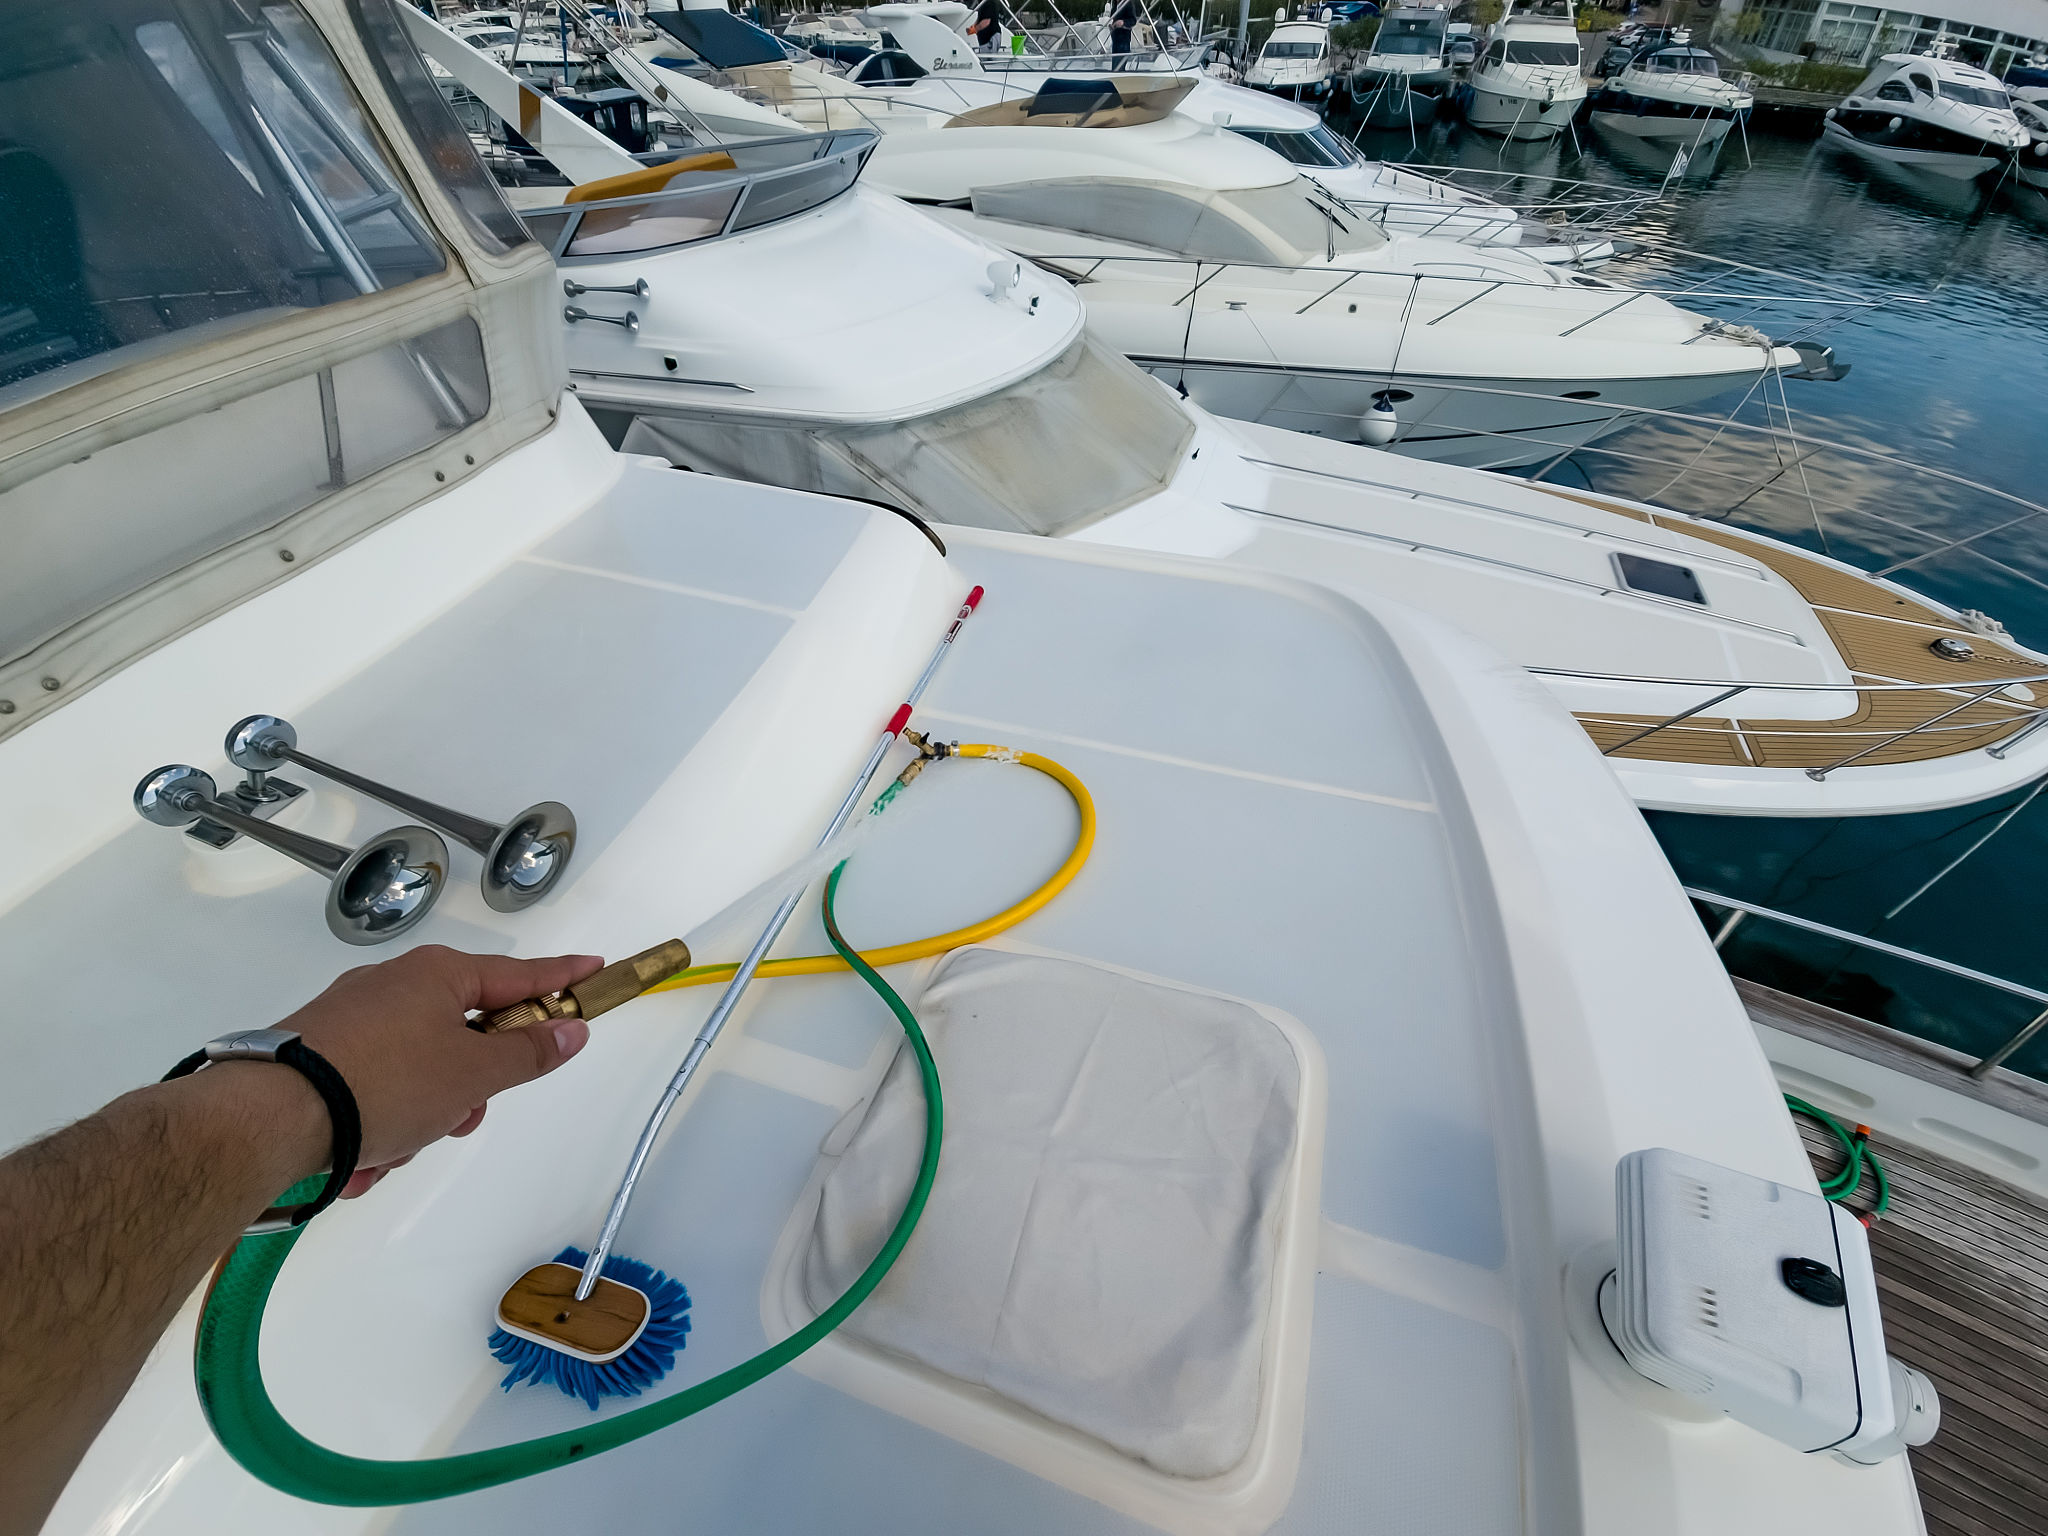
Proper preparation of the hull is crucial for ensuring paint adhesion and longevity. Start by hauling your boat out of the water and thoroughly cleaning the hull to remove any dirt, grime, or previous paint layers. This may involve scraping, sanding, and using solvents specifically designed for marine applications.
Sanding and Priming
Once clean, sand the surface to create a rough texture that allows the new paint to adhere better. Use an appropriate grade of sandpaper based on your hull material. Following sanding, applying a primer is recommended to provide a stable base for the paint. Ensure that the primer is compatible with both the hull material and chosen paint type.
Painting Techniques for a Smooth Finish
To achieve a professional look, consider employing techniques such as rolling and tipping. This involves using a roller to apply the paint and a brush to even out any bubbles or streaks. Apply multiple thin coats rather than one thick coat to ensure uniform coverage and durability.
Drying and Curing
After painting, allow adequate time for drying and curing. Follow the manufacturer's instructions regarding drying times before launching your boat back into the water. This step is vital to prevent premature wear and ensure that the paint fully bonds to the hull.
Final Touches and Maintenance
Once your paint job is complete, inspect it closely for any missed spots or uneven areas. Touch up as necessary to ensure a seamless finish. Regular maintenance, including periodic cleaning and inspections, will extend the life of your bottom paint and keep your boat looking its best.
By following these detailed steps and taking care in each phase of the process, you can achieve professional results in your DIY bottom painting project. Not only will this enhance your boat's performance, but it will also protect your investment in the long run.