DIY Yacht Hull Painting: A Step-by-Step Guide for Enthusiasts


Introduction to DIY Yacht Hull Painting
Painting your yacht's hull can be a rewarding and cost-effective way to enhance its appearance and performance. Whether you're a seasoned sailor or a passionate hobbyist, tackling this project yourself can save money and give you a sense of pride in your vessel. In this guide, we'll walk you through the entire process step by step, ensuring a smooth and successful paint job.
Before diving into the details, it's crucial to understand that proper preparation is key to achieving a professional finish. This means taking the time to gather the right materials, preparing the surface, and applying the paint correctly.

Gathering Materials and Tools
To get started, you'll need to assemble a list of essential materials and tools. Here's what you'll need:
- Marine-grade paint
- Primer
- Painters tape
- Sandpaper (various grits)
- Paint rollers and brushes
- Protective gear (gloves, goggles, mask)
- Tarp or drop cloths
Make sure to purchase high-quality marine-grade paint and primer, as these are specifically designed to withstand harsh marine environments. Additionally, gather all necessary protective gear to ensure safety during the painting process.
Surface Preparation
The first step in painting your yacht's hull is surface preparation. Begin by cleaning the hull thoroughly to remove dirt, grime, and any existing layers of old paint. Use a pressure washer or a scrub brush with mild detergent for best results.
Once clean, inspect the hull for any cracks or imperfections. Sand the surface using sandpaper in progressively finer grits until it's smooth and free from blemishes. This step is crucial for ensuring that the primer and paint adhere properly to the hull.

Applying Primer
With a clean and sanded surface, it's time to apply the primer. This step is essential as it provides a stable base for the paint and helps to prevent corrosion. Use a paint roller or brush to apply an even coat of primer over the entire hull. Allow it to dry completely according to the manufacturer's instructions before proceeding.
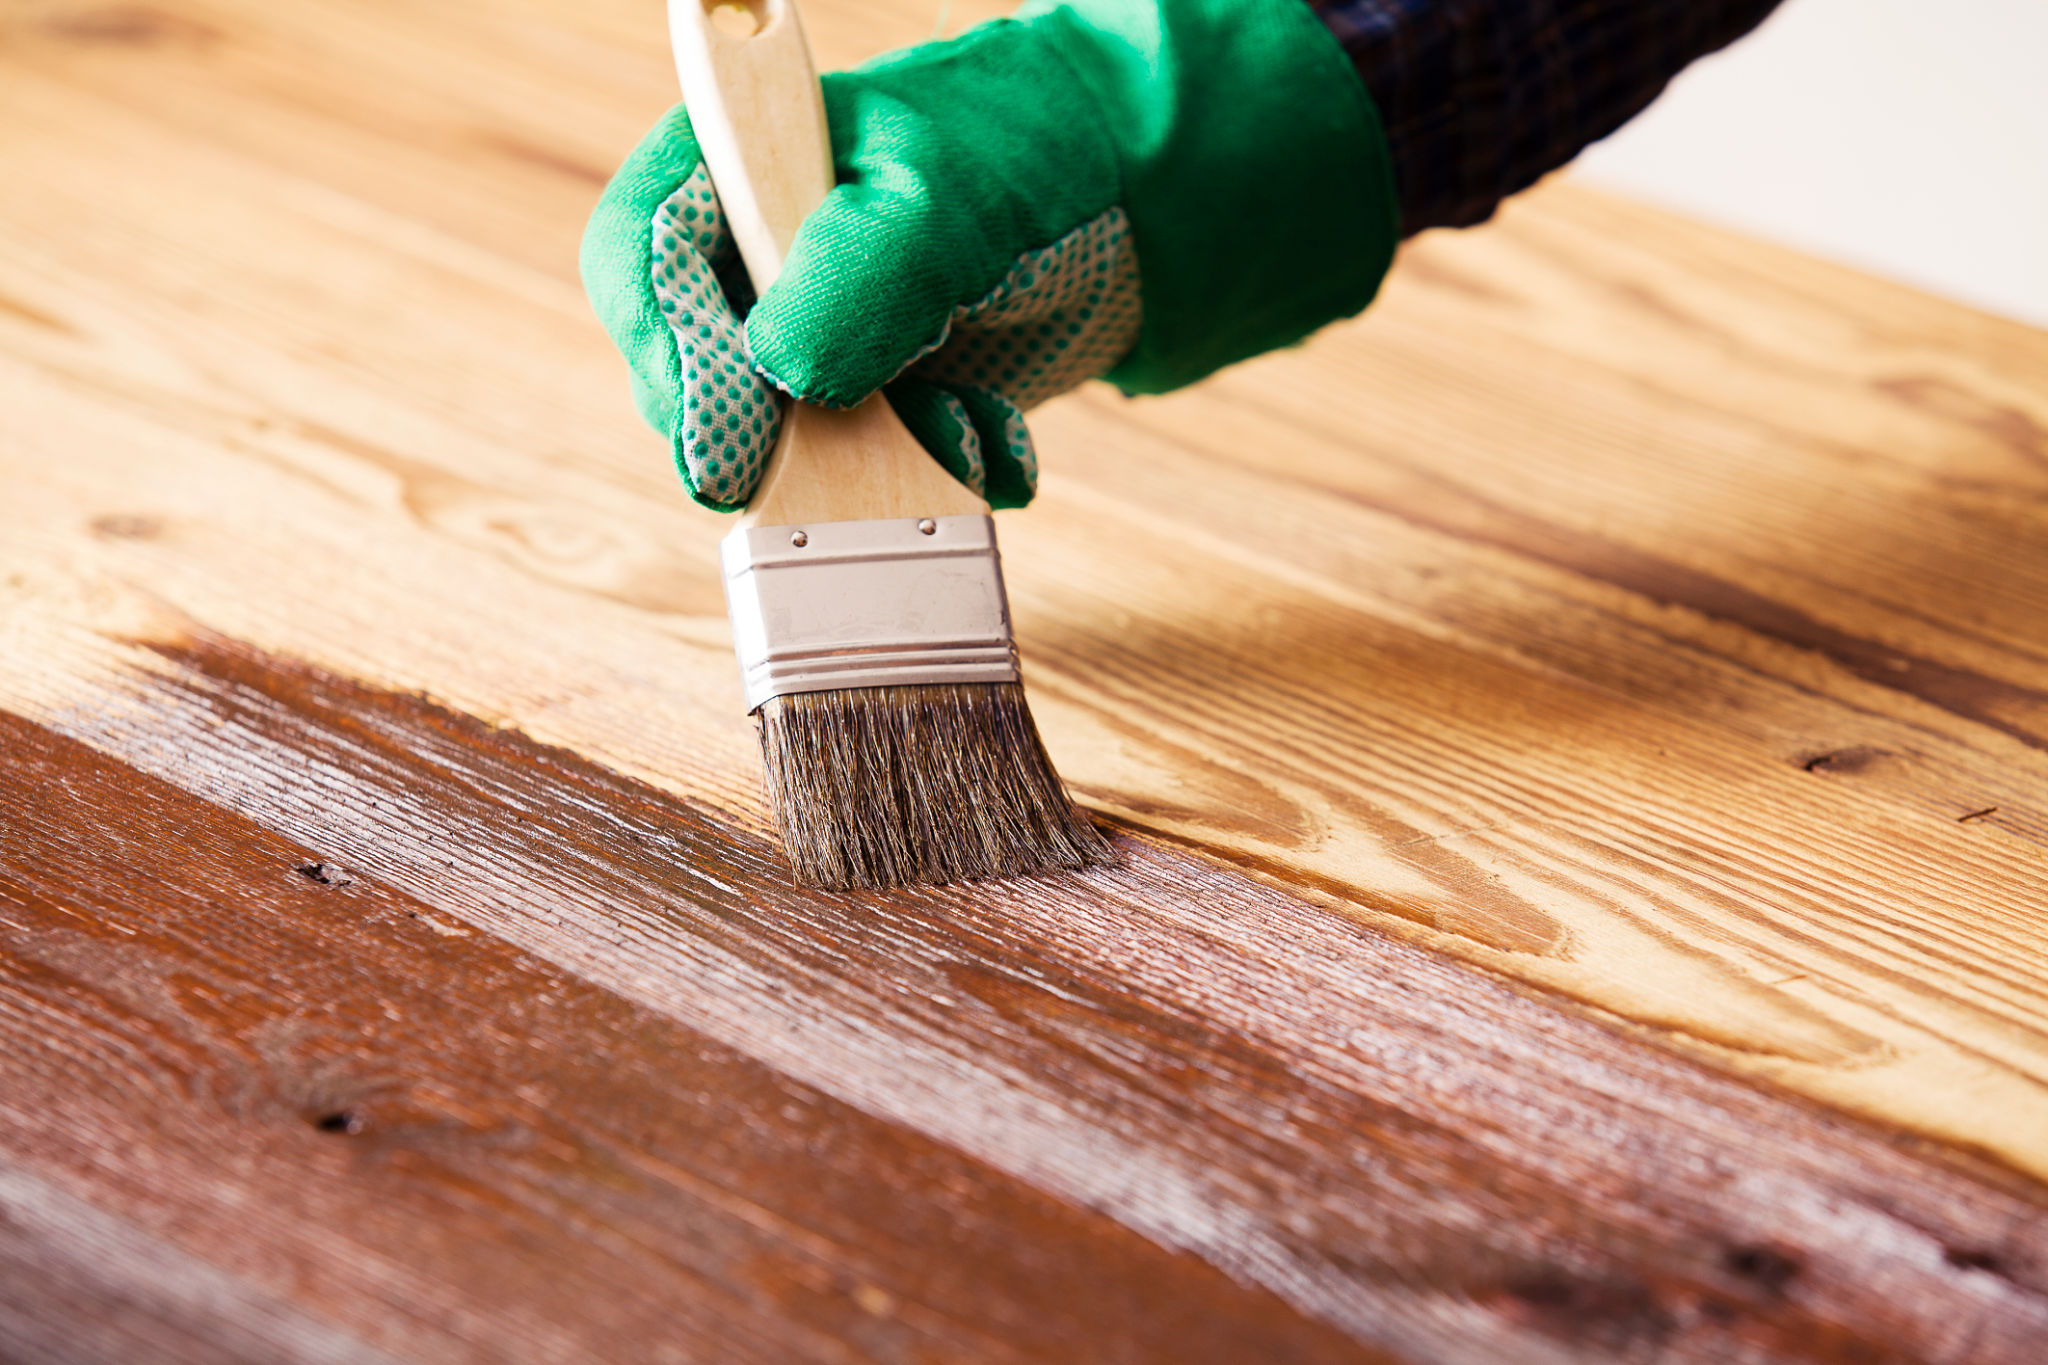
Painting the Hull
Once the primer is dry, you're ready to apply the paint. Using a fresh roller or brush, apply the first coat of marine-grade paint evenly across the hull. For best results, work in small sections at a time, overlapping each stroke slightly to avoid streaks.
Depending on the paint type and color, you may need multiple coats. Allow each coat to dry thoroughly before applying the next. This will ensure a smooth, long-lasting finish that can withstand the elements.
Final Touches and Maintenance
After the final coat has dried, remove any painter's tape carefully. Inspect your work for any touch-ups needed and address them as necessary. Once satisfied with your new hull paint job, clean up your workspace and dispose of materials responsibly.
To maintain your yacht's freshly painted hull, regularly clean it with mild soap and water. Avoid abrasive cleaners that can damage the finish. Routine maintenance will keep your yacht looking pristine and protect your investment for years to come.
Conclusion
Painting your yacht's hull is a fulfilling DIY project that can enhance both aesthetics and performance. By following these steps and paying attention to detail, you'll achieve professional-looking results without breaking the bank. So grab your tools, roll up your sleeves, and transform your yacht into a masterpiece on the water!